
(Post from my old blog, circa 24/08/2010)
Here's a simple guide on how to fix the Easun EM-81L/HTDZ HT-81 a.k.a The $50 Ebay 14.37 Shotgun Mic. I got it over Ebay for $50 (SGD converted), and I must say the audio quality's pretty good.
However, if you were, like me, in a rush to unplug the XLR wire connecting on the end, and instead, got the entire battery capsule, then you must have ripped out the connections inside.
Not to worry! After a few hours of tinkering, I've figured out how to disassemble this mic and to ultimately fix it back up again! I figured, well, since I already figured it out, might as well do a step-through of the process and put it up as a guide on the net, so as to save you guys heaps of time :)
So without further ado, let's begin!
What you need
Medium-sized Phillips Screwdriver
Medium-sized Pliers
The Mic Itself (of course haha!)
So this is how the mic looks like...
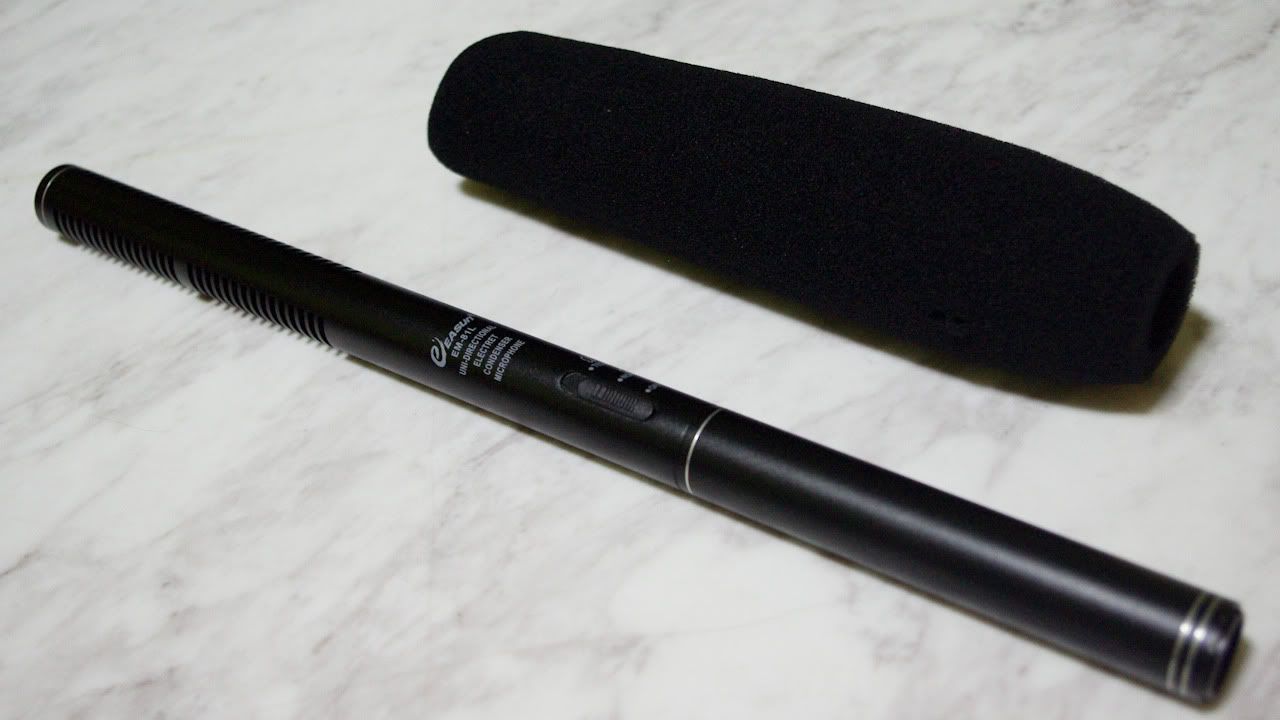
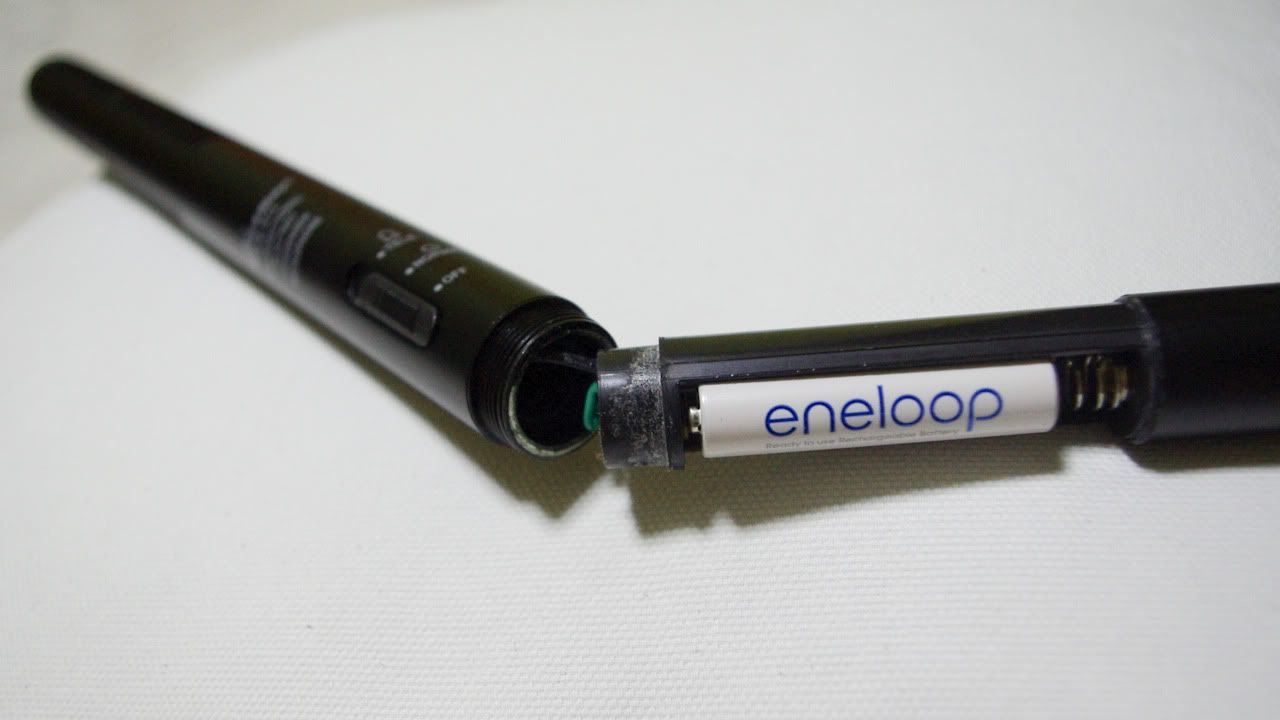
First, remove the bottom cap. You should see the battery compartment.
Now, pull the battery compartment (you should be able to do this, since you ripped it out already)
Now, use the pilers to grip onto the thread.
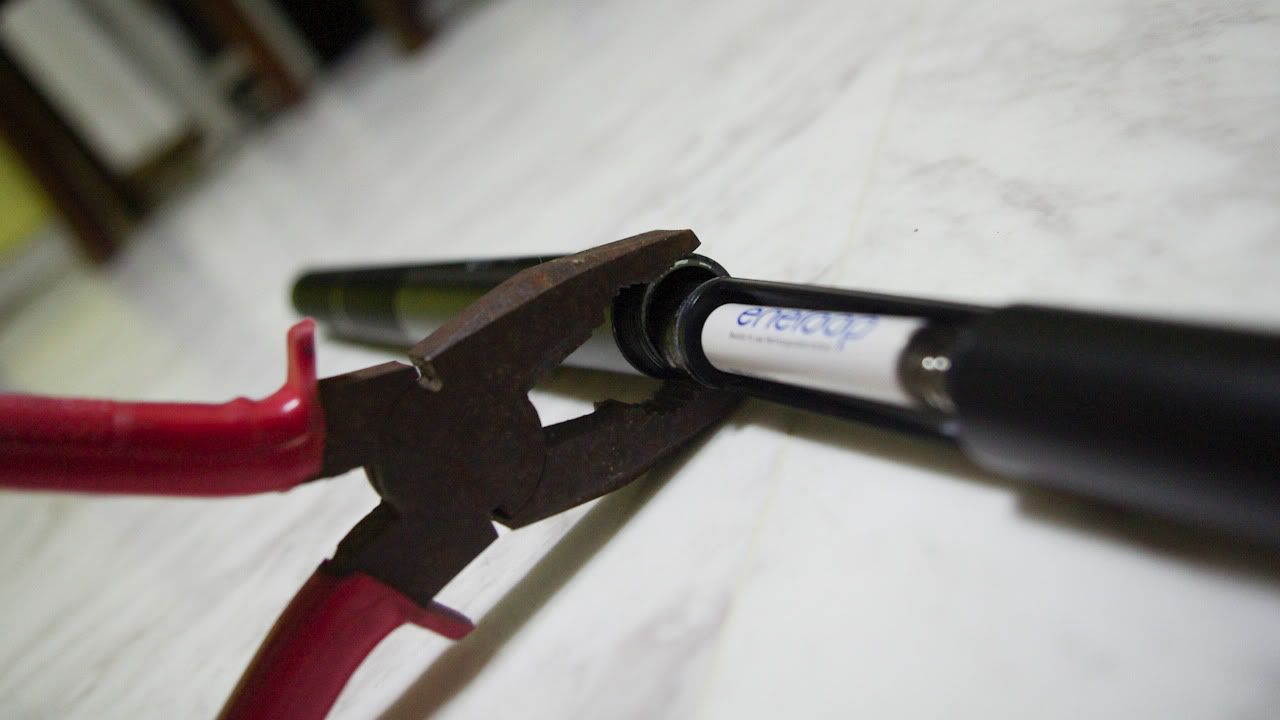
Remember to let it grip on the thread only, and not the top ring or the body.
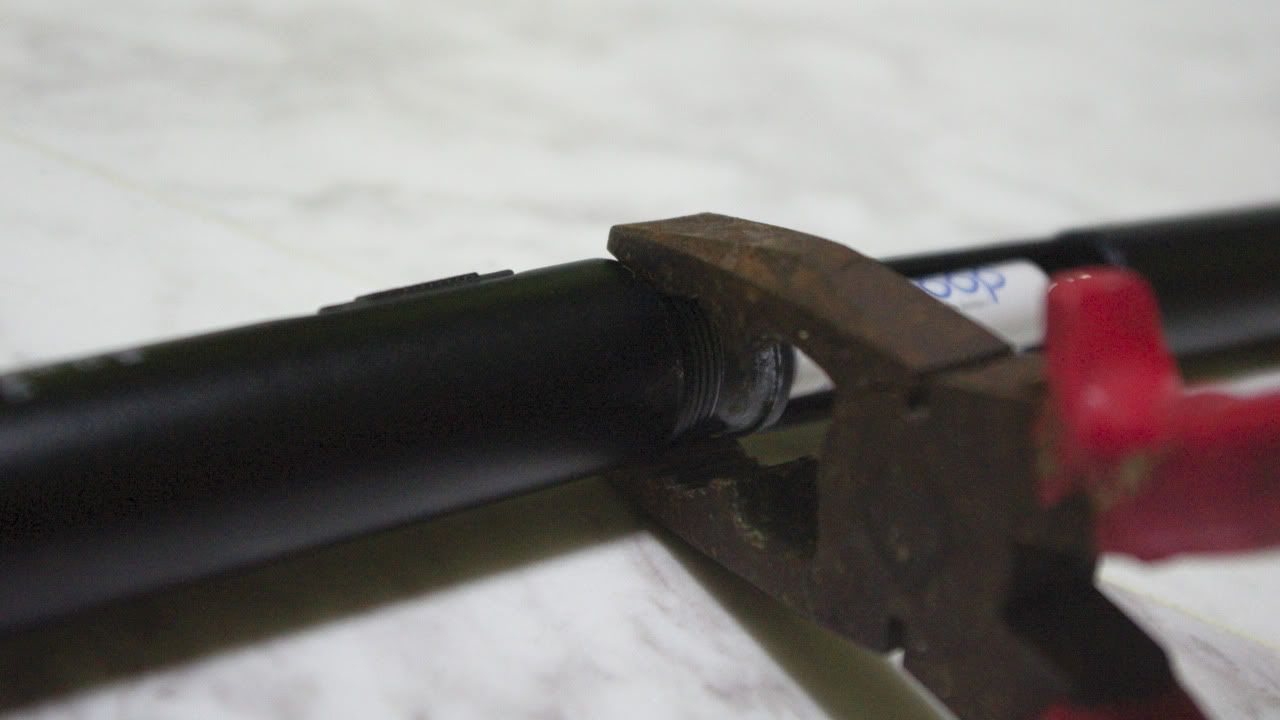
Now, grip the pliers tight, and turn ANTICLOCK-WISE from the body. It's quite tight initially, so just go ahead and use that extra strength. It should reveal a male-to-male coupling thingy that keeps the main body and the battery cover together. Fully unscrew this.
Now, you should be able to see the internals of the mic.
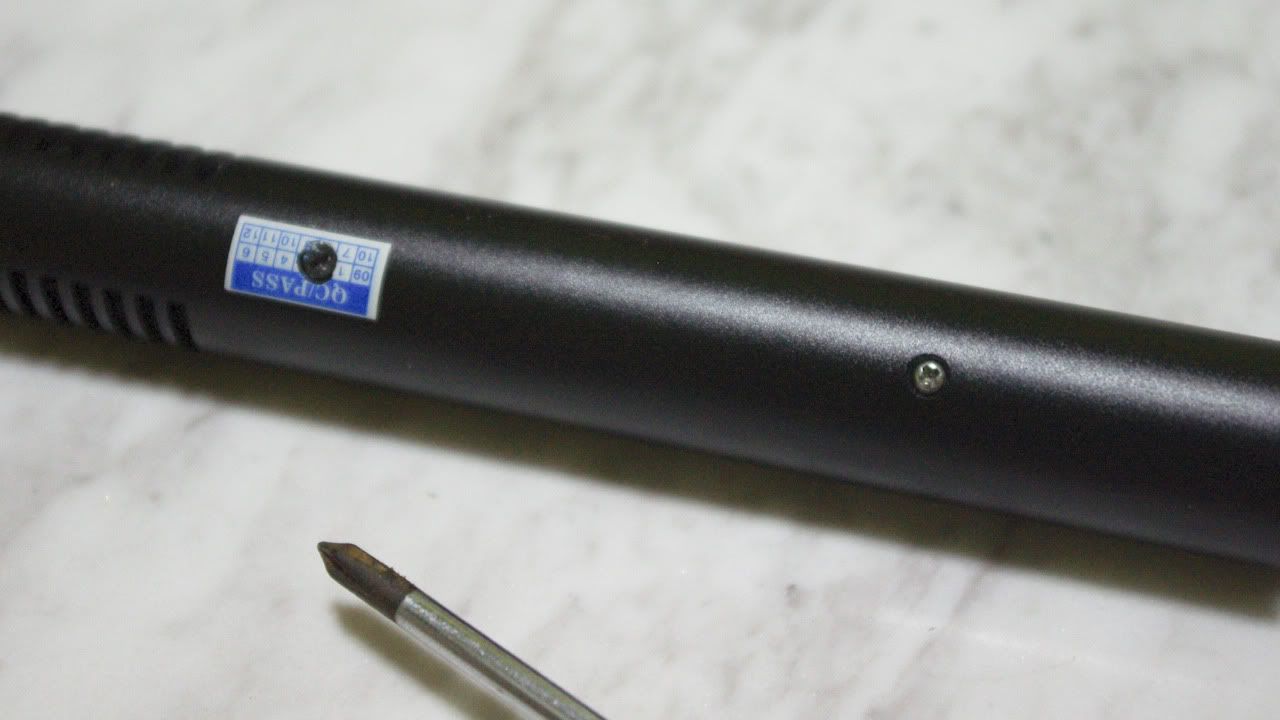
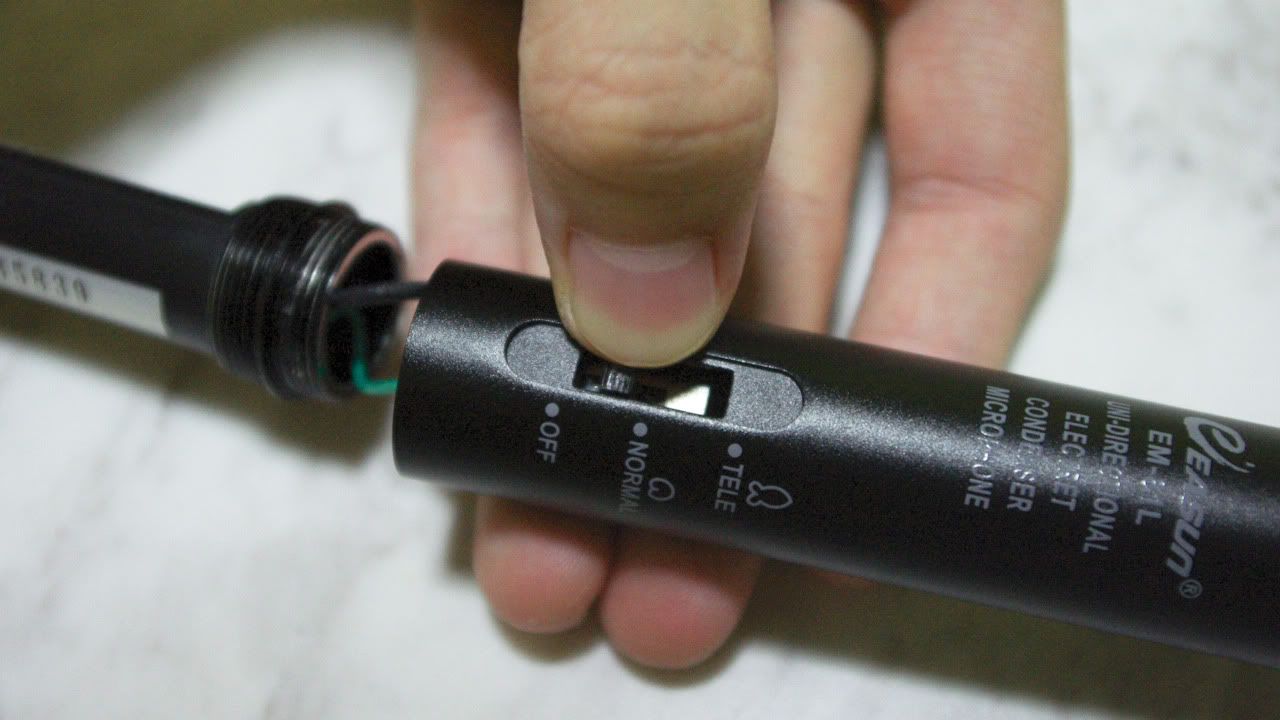
In order to get that electronic board out, you'll need to unscrew two screws that can be found on the back of the mic.
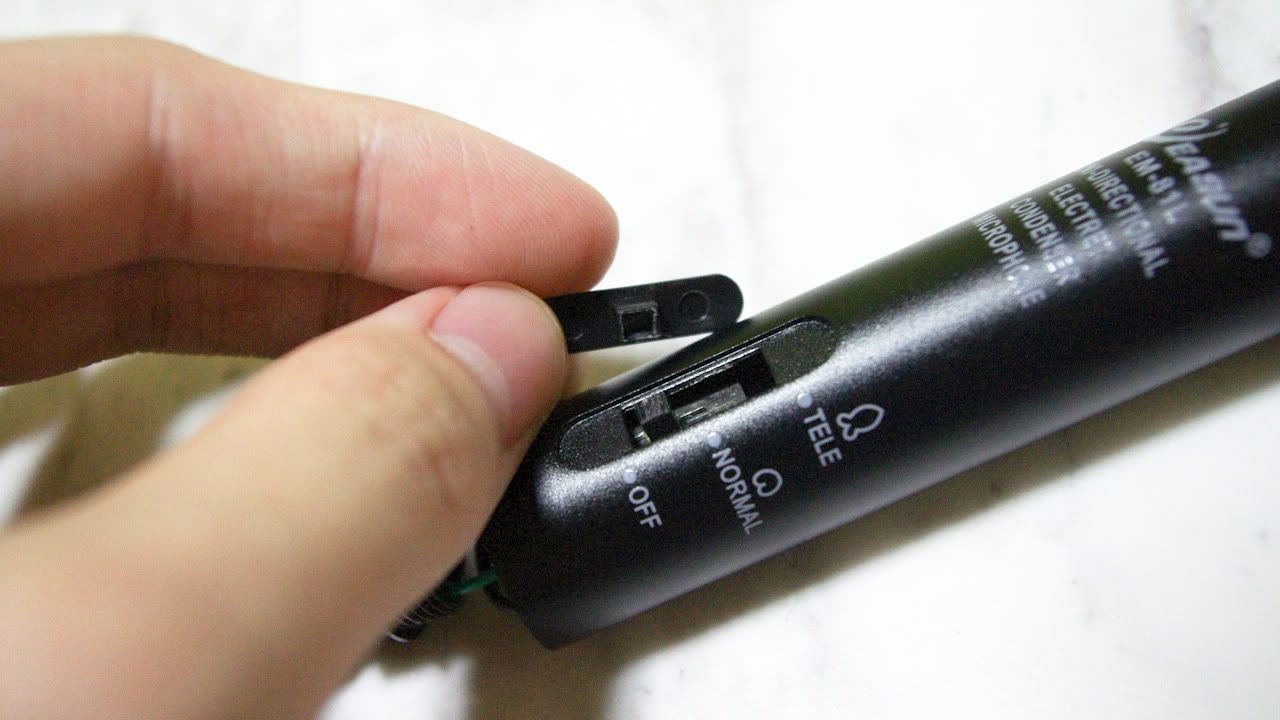
After unscrewing them, you'll have noticed that the switch that controls the mic's mode (ie. Off, Normal, Tele) has raised.
This shows that the board is loose from the screws, which means you can go ahead to remove it :)
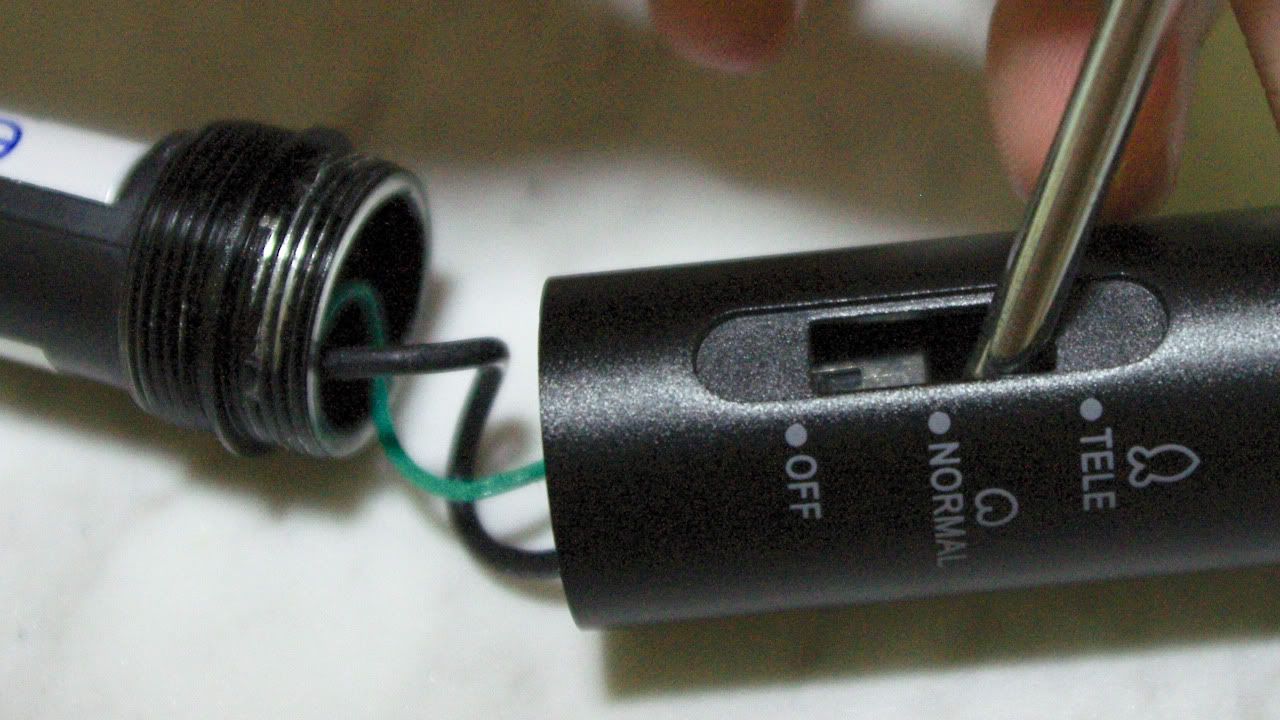
To remove the board, first you'll have to remove the thingy that's connected to the switch. It's pretty simple' just wiggle it to the left and the right, but slowly. You don't want to break it!
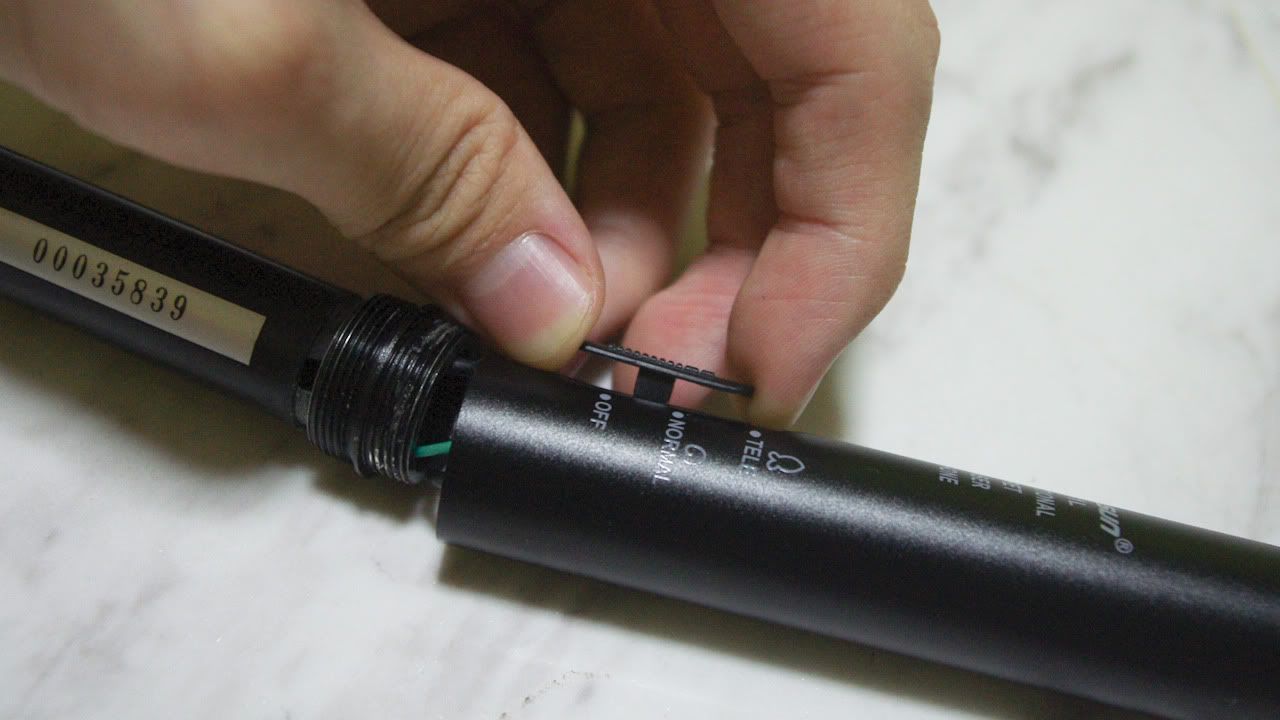
There, removed :)
Now, press down on the slider switch, like so.
Then, using the Phillips Screwdriver as a lever, slide the board leftwards towards the hole.
You'll feel an obstruction when the board is positioned like this, after sliding it. This is normal.
Now, depress the board down (softly), thus clearing the switch from the screw threads. You should be able to pull the board out cleanly.
There, all pulled out.
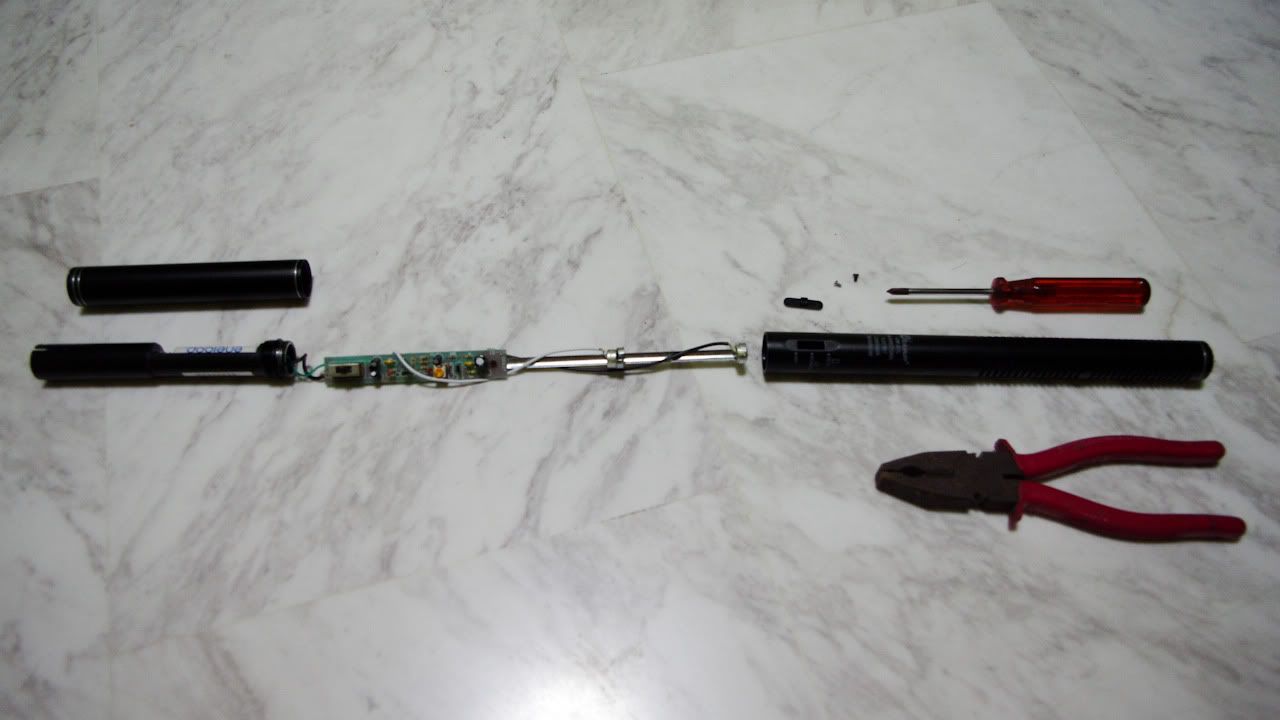
Heck, I was told by a shop that does soldering that he'd charge me $20 bucks just to figure out how to get the board out. Rip off :S
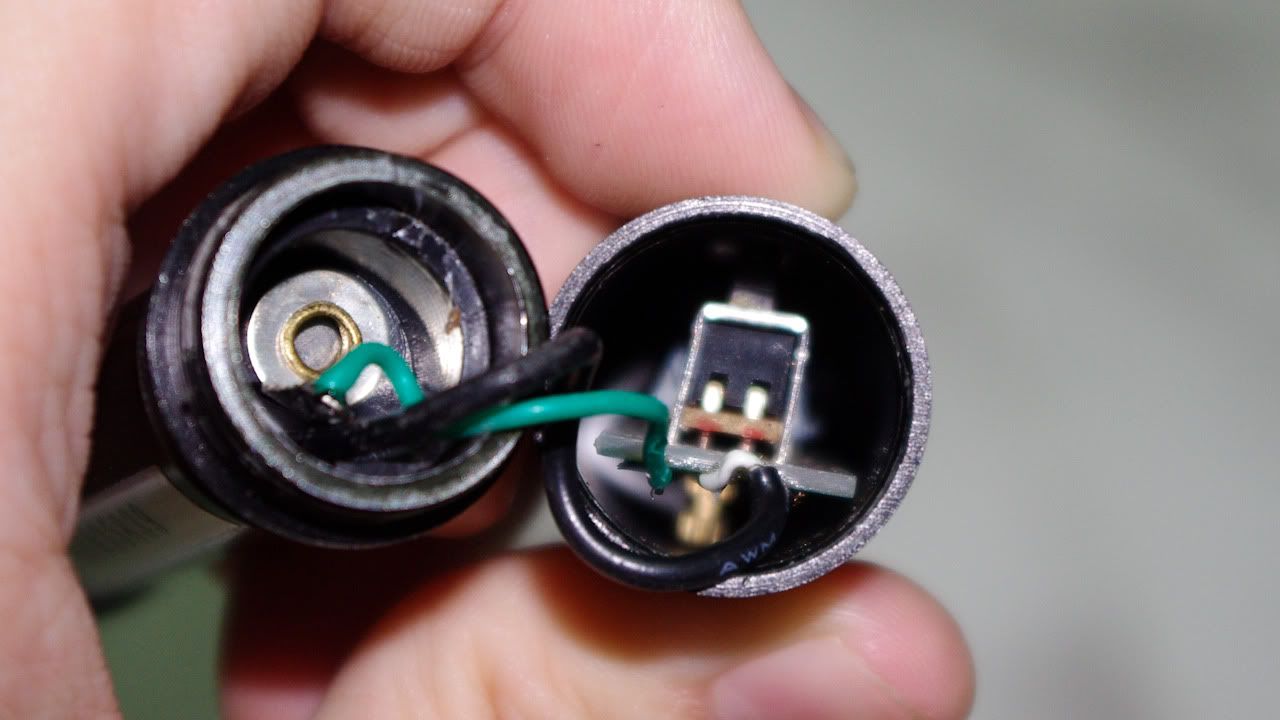
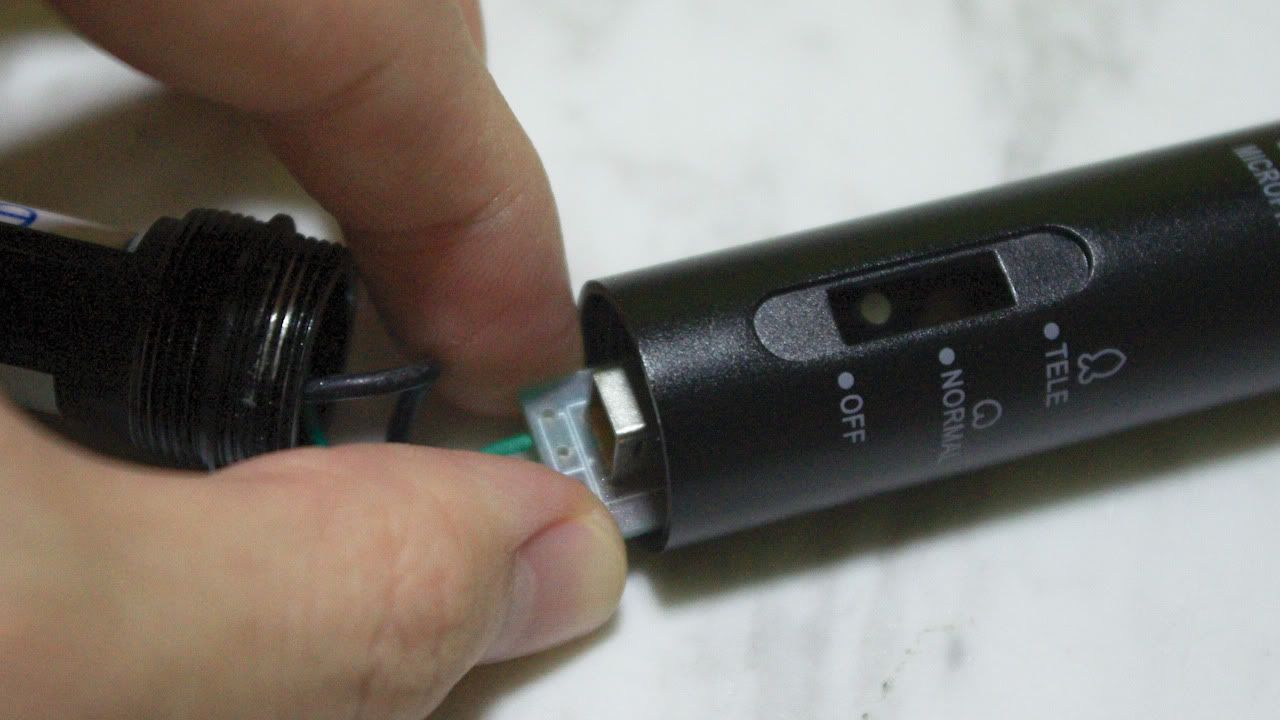
Now that the tough part's done, the rest is pretty simple. Just re-solder the wires from the ripped battery compartment back to the board as such.
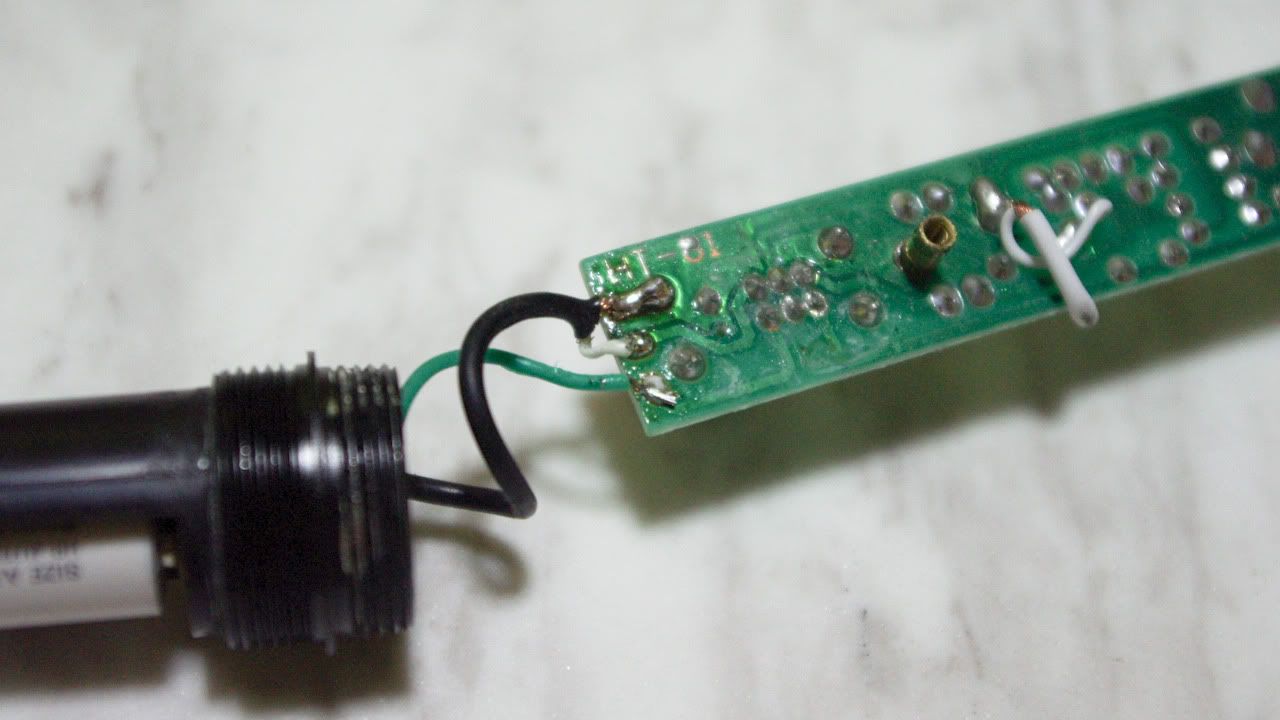
The copper contacts of the sleeve in the black wire should go to the left contact, while the white wire should go to the middle contact. The green wire should go to the right contact.
Sorry I couldn't come out with the schematics of the circuit, cos' I never learned how to, haha! (heck, i'm IT-trained :P)
You can either solder it yourself, or you could pass it to a shop to help you with the soldering. (i got it done for $5)
Once the soldering is done, just reverse the steps and fix it back!
Points to Note While Fixing It Back
-The board should align with the holes at the back, so that you can screw it back in.
-Careful when you're placing the entire setup back into the casing. You don't wanna bend the metal strip supporting the mic pieces.
-Screw the male-to-male coupling thingy back and tightening it with the plier, or else you'll be screwing out both this and the battery cover, which makes things pretty complicated haha!
-Maybe you'll wanna place some superglue between the coupling thingy and the battery compartment, so that it won't come loose again. (damn XLRs are tight-as-hell connectors, rightfully so!)
-Maybe you wanna ditch the XLR and solder your own connector (3.5mm, 6.35mm TRS connectors), so that it won't rip out again. (granted that you have to take care of the loose end after doing so). The connection's unbalanced anyway. I'm talking about balanced vs unbalanced input here; for more info just google it :)
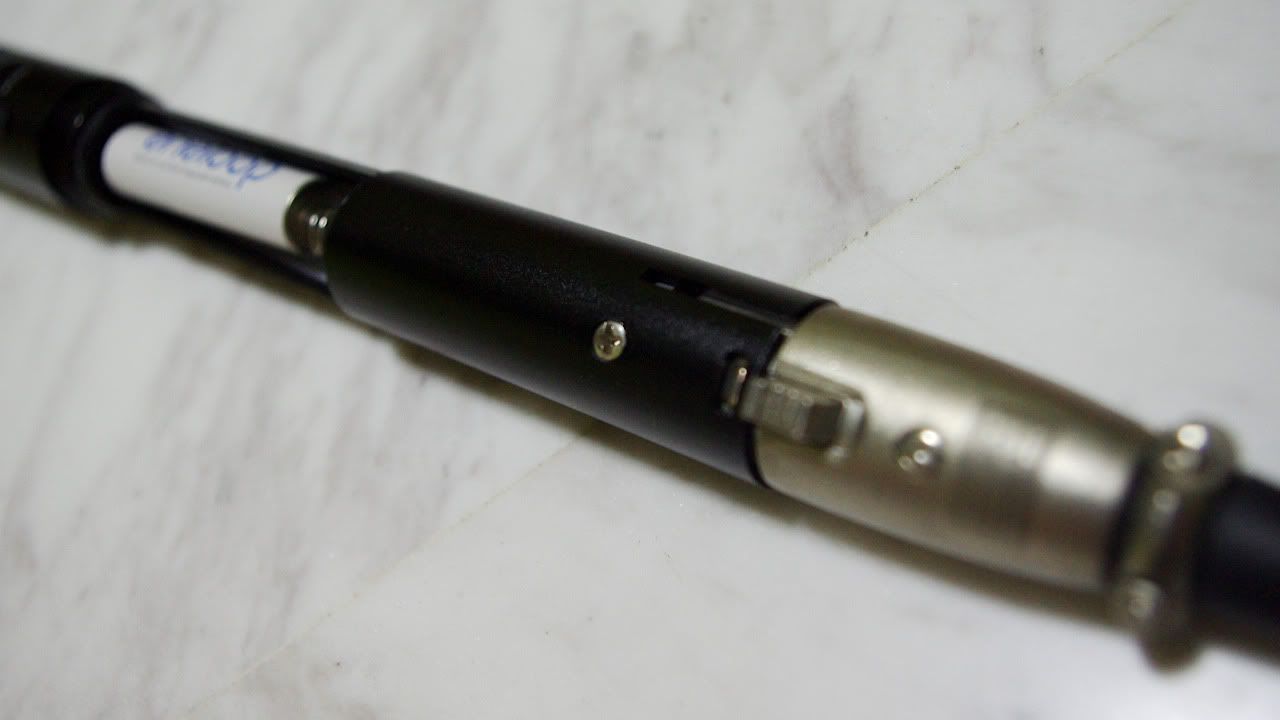
There's a screw at the bottom of the entire setup. Unscrewing it loosens the XLR connector and the wires that are tethered to it.
-And also, don't use AA's with this mic. It'll make removal of the battery cover really hard. Also, there's a chance that the battery compartment might come loose and twist along with the battery cover. You might risk ripping the connections again :S Just use AAA's, like the eneloops i'm using right now :)
Hope this helps you guys out there! Cheers!
Here's a simple guide on how to fix the Easun EM-81L/HTDZ HT-81 a.k.a The $50 Ebay 14.37 Shotgun Mic. I got it over Ebay for $50 (SGD converted), and I must say the audio quality's pretty good.
However, if you were, like me, in a rush to unplug the XLR wire connecting on the end, and instead, got the entire battery capsule, then you must have ripped out the connections inside.
Not to worry! After a few hours of tinkering, I've figured out how to disassemble this mic and to ultimately fix it back up again! I figured, well, since I already figured it out, might as well do a step-through of the process and put it up as a guide on the net, so as to save you guys heaps of time :)
So without further ado, let's begin!
What you need
Medium-sized Phillips Screwdriver
Medium-sized Pliers
The Mic Itself (of course haha!)
So this is how the mic looks like...
First, remove the bottom cap. You should see the battery compartment.
Now, pull the battery compartment (you should be able to do this, since you ripped it out already)
Now, use the pilers to grip onto the thread.
Remember to let it grip on the thread only, and not the top ring or the body.
Now, grip the pliers tight, and turn ANTICLOCK-WISE from the body. It's quite tight initially, so just go ahead and use that extra strength. It should reveal a male-to-male coupling thingy that keeps the main body and the battery cover together. Fully unscrew this.
Now, you should be able to see the internals of the mic.
In order to get that electronic board out, you'll need to unscrew two screws that can be found on the back of the mic.
After unscrewing them, you'll have noticed that the switch that controls the mic's mode (ie. Off, Normal, Tele) has raised.
This shows that the board is loose from the screws, which means you can go ahead to remove it :)
To remove the board, first you'll have to remove the thingy that's connected to the switch. It's pretty simple' just wiggle it to the left and the right, but slowly. You don't want to break it!
There, removed :)
Now, press down on the slider switch, like so.
Then, using the Phillips Screwdriver as a lever, slide the board leftwards towards the hole.
You'll feel an obstruction when the board is positioned like this, after sliding it. This is normal.
Now, depress the board down (softly), thus clearing the switch from the screw threads. You should be able to pull the board out cleanly.
There, all pulled out.
Heck, I was told by a shop that does soldering that he'd charge me $20 bucks just to figure out how to get the board out. Rip off :S
Now that the tough part's done, the rest is pretty simple. Just re-solder the wires from the ripped battery compartment back to the board as such.
The copper contacts of the sleeve in the black wire should go to the left contact, while the white wire should go to the middle contact. The green wire should go to the right contact.
Sorry I couldn't come out with the schematics of the circuit, cos' I never learned how to, haha! (heck, i'm IT-trained :P)
You can either solder it yourself, or you could pass it to a shop to help you with the soldering. (i got it done for $5)
Once the soldering is done, just reverse the steps and fix it back!
Points to Note While Fixing It Back
-The board should align with the holes at the back, so that you can screw it back in.
-Careful when you're placing the entire setup back into the casing. You don't wanna bend the metal strip supporting the mic pieces.
-Screw the male-to-male coupling thingy back and tightening it with the plier, or else you'll be screwing out both this and the battery cover, which makes things pretty complicated haha!
-Maybe you'll wanna place some superglue between the coupling thingy and the battery compartment, so that it won't come loose again. (damn XLRs are tight-as-hell connectors, rightfully so!)
-Maybe you wanna ditch the XLR and solder your own connector (3.5mm, 6.35mm TRS connectors), so that it won't rip out again. (granted that you have to take care of the loose end after doing so). The connection's unbalanced anyway. I'm talking about balanced vs unbalanced input here; for more info just google it :)
There's a screw at the bottom of the entire setup. Unscrewing it loosens the XLR connector and the wires that are tethered to it.
-And also, don't use AA's with this mic. It'll make removal of the battery cover really hard. Also, there's a chance that the battery compartment might come loose and twist along with the battery cover. You might risk ripping the connections again :S Just use AAA's, like the eneloops i'm using right now :)
Hope this helps you guys out there! Cheers!
Tag :// Gear
